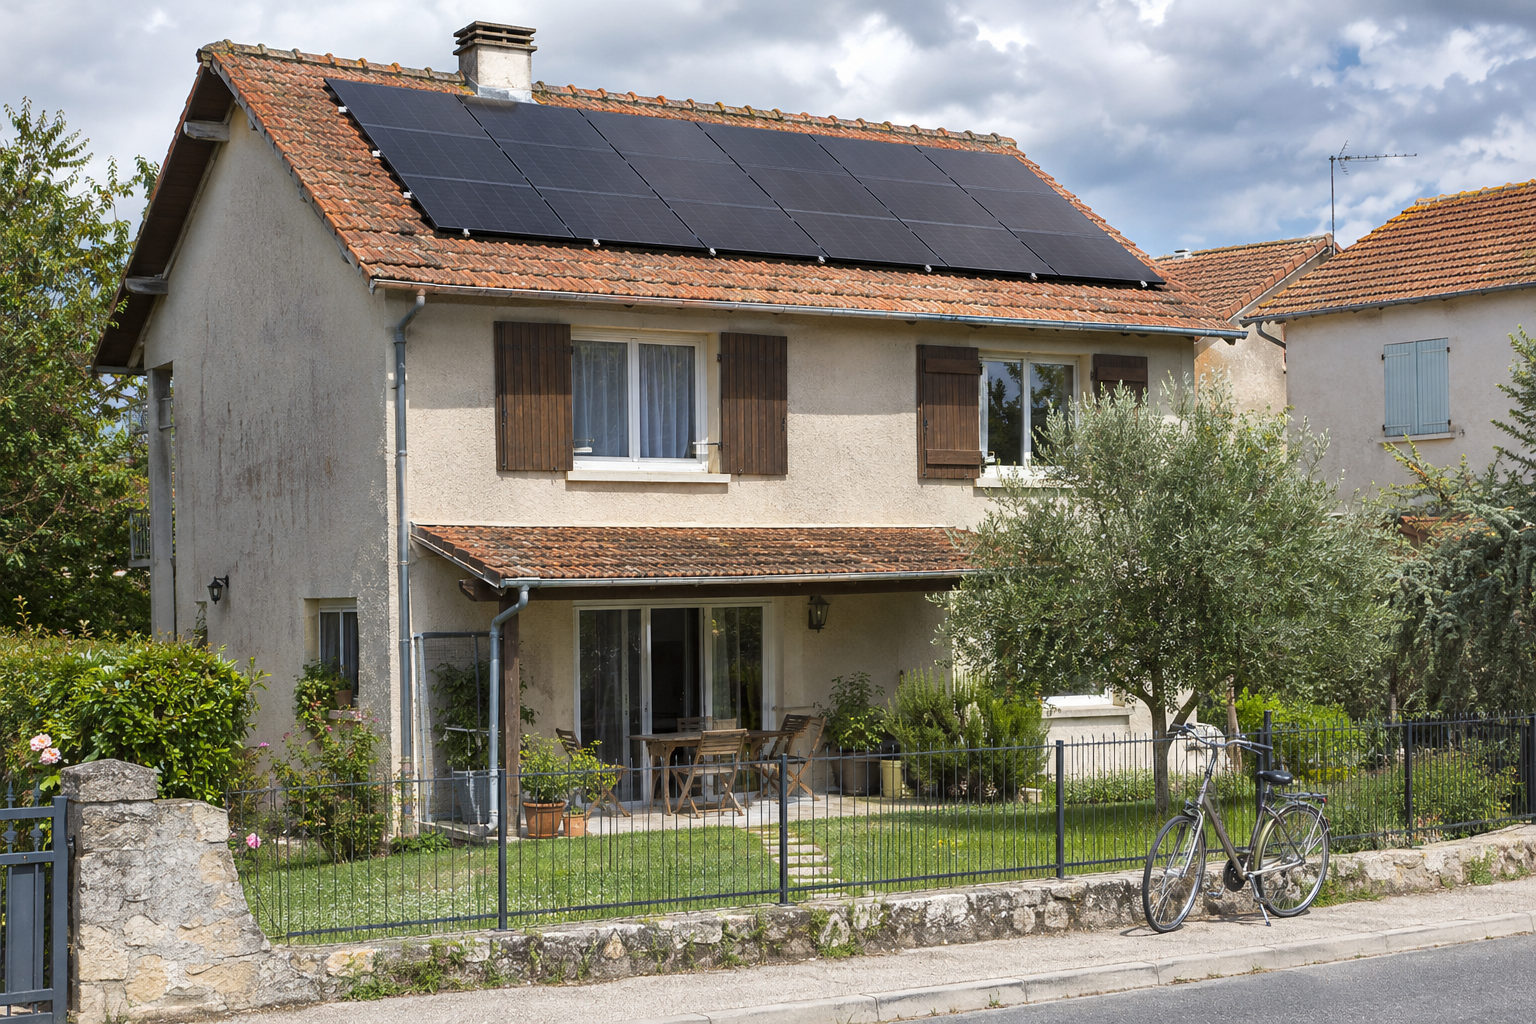
A roof-mounted solar array transfers wind, snow and self-weight into an existing building. The module layout is only one part of the design. Tile and metal roofs need different attachment details, and two roofs with the same visible finish can have very different supporting structures. Begin with a survey rather than selecting components from a photograph.
Record what supports the roof
Identify rafters or purlins, their spacing, material, condition and connection to the main structure. Obtain drawings where available and verify important dimensions on site. Record roof pitch, access restrictions, damaged areas and any existing leaks. The building’s reserve capacity needs review by the responsible designer.
Wind exposure and roof zones influence fixing demand. Edge and corner areas can require different spacing from the interior. Snow accumulation, neighboring structures and rooftop equipment also affect the design assumptions. Send this information with the proposed module layout so the support system can be assessed consistently.
Tile roofs: connect to the structure
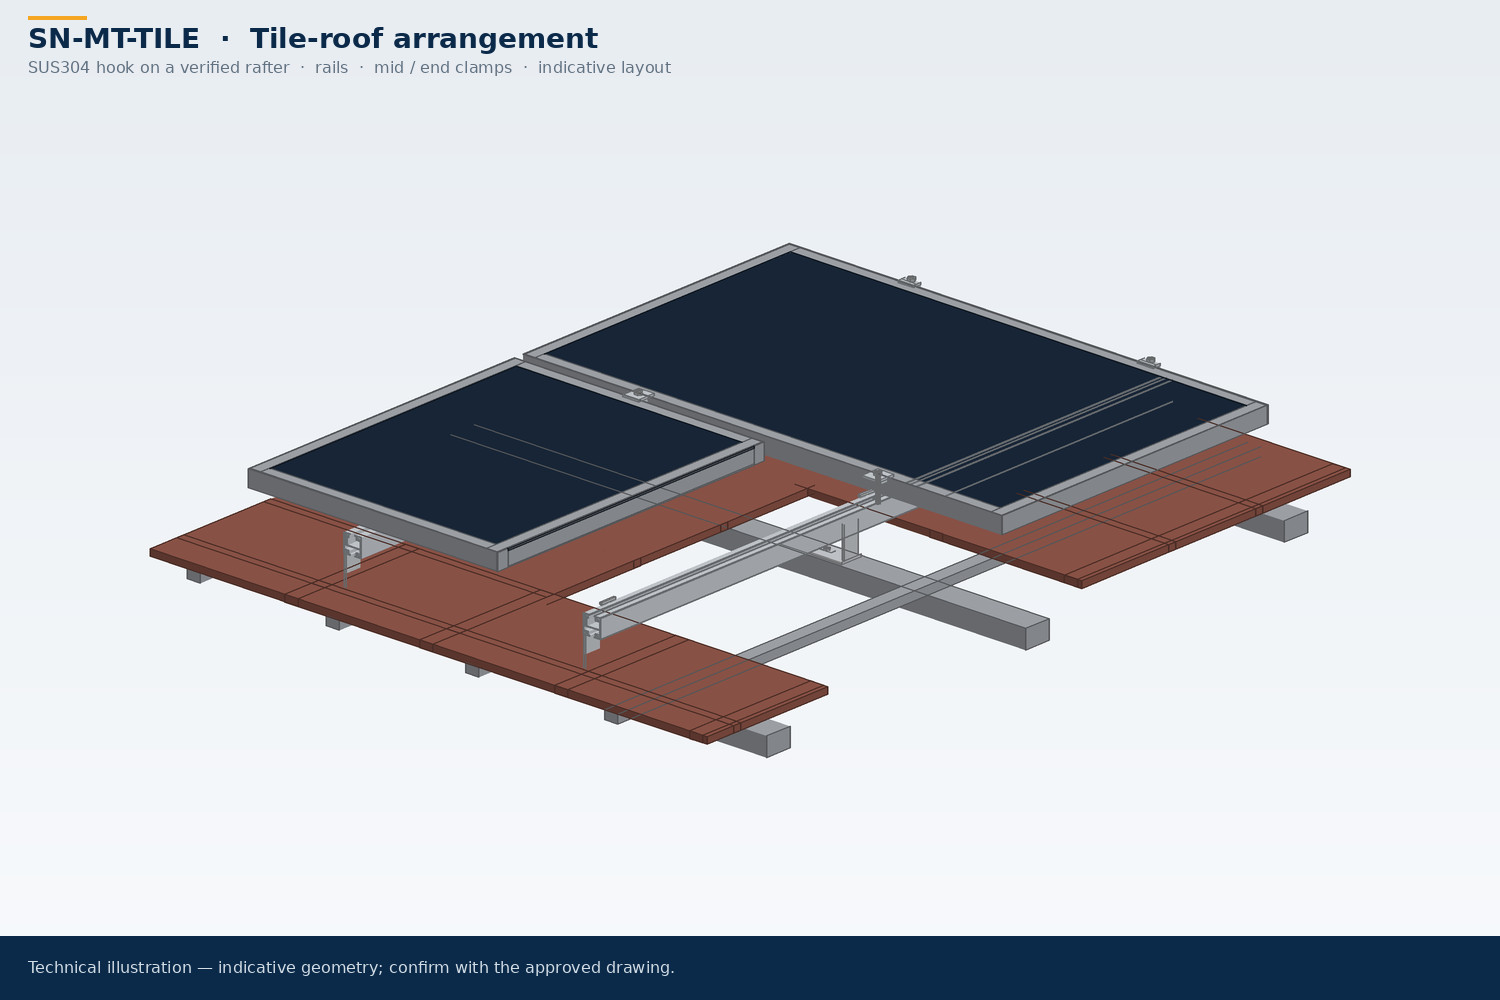
A common tile-roof arrangement uses stainless steel hooks fixed into verified rafters, with aluminum rails supporting the modules. Adjustable hook geometry can help accommodate tile profiles and installation tolerances. The hook should be selected to maintain the required clearance and avoid transferring structural loads through fragile tiles.
Tile trimming, flashing and replacement procedures depend on the roof covering and local construction practice. Confirm these details before work begins. Do not treat a hook that physically fits beneath a tile as proof that the connection is adequate. Fastener embedment, timber condition and the complete load path require separate checks.
Metal roofs: match the attachment method
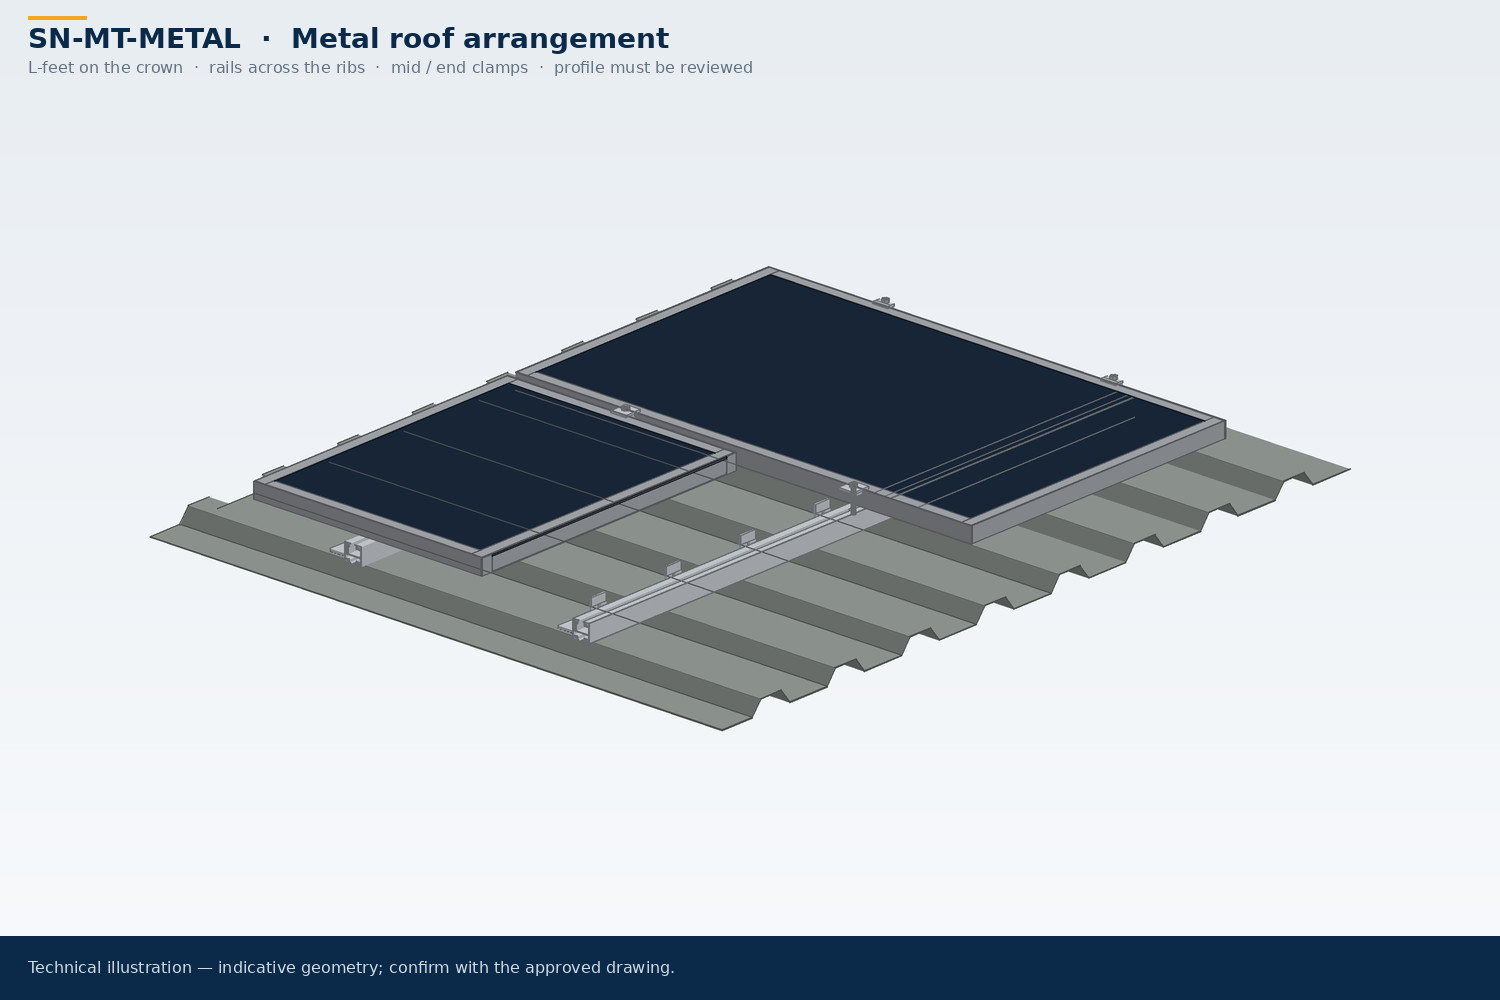
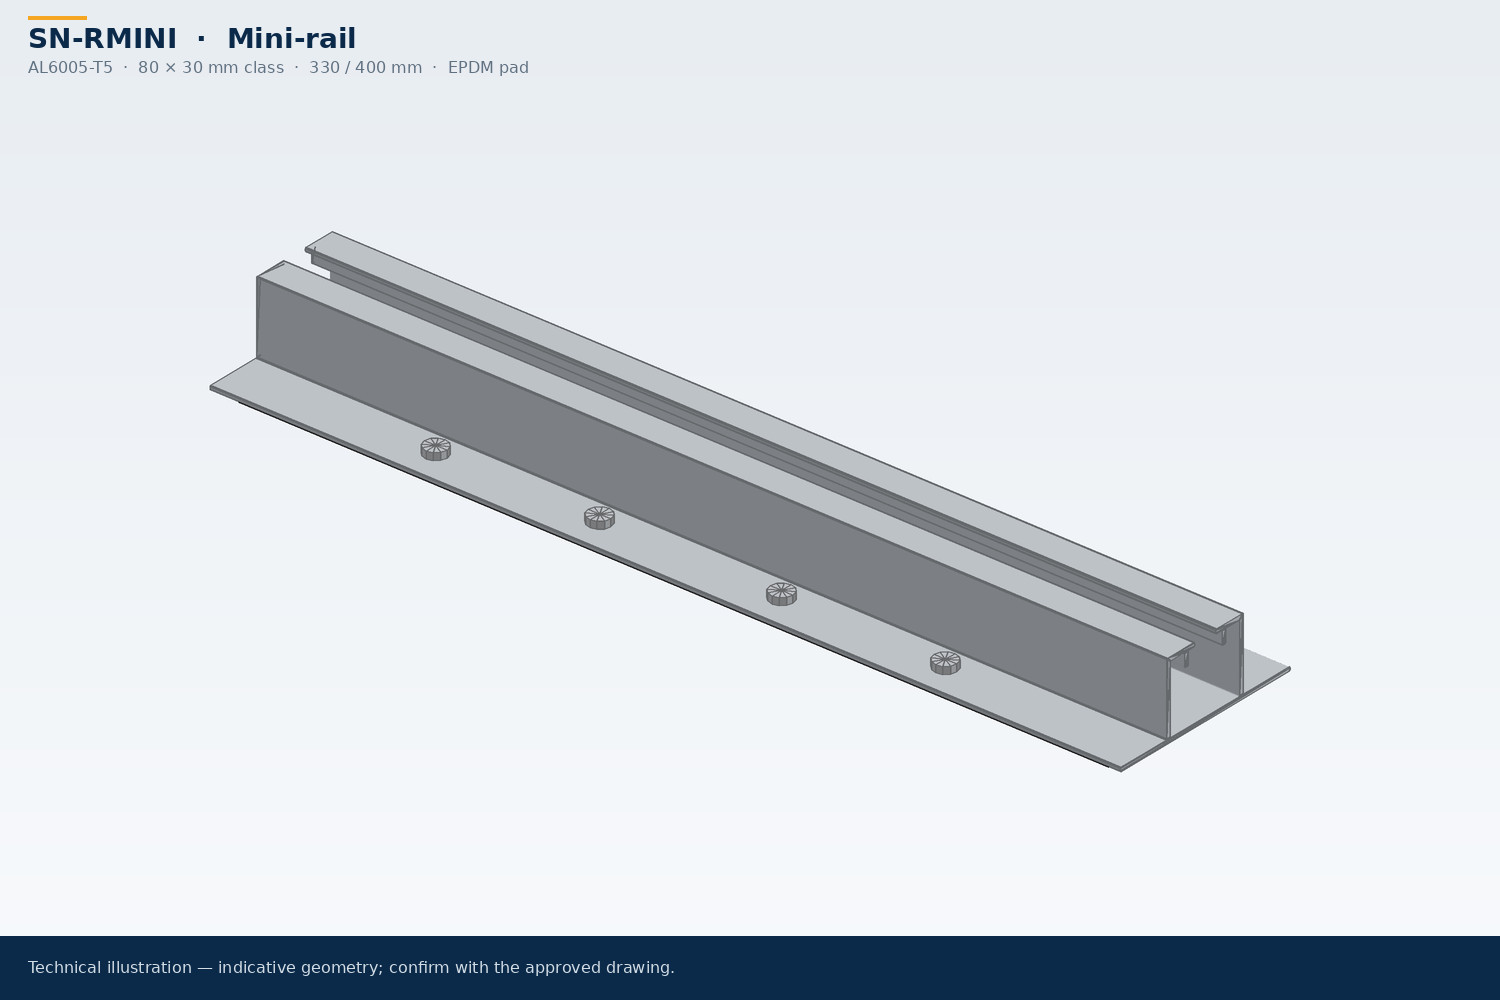
Profiled metal roofs may use L-feet and rails, short mini rails or a rail-less arrangement. The appropriate method depends on the sheet profile, thickness, purlin positions and verified fixing resistance. Sealing washers or EPDM pads help form a weatherproof detail, but only when compatible materials and installation procedures are used.
A fixing into a thin sheet behaves differently from a fixing into the structural purlin beneath it. Confirm which substrate the design relies on. Standing-seam roofs require a seam-specific clamping solution and checks for the roof system; an attachment intended for a trapezoidal sheet should not be assumed suitable.
Flat roofs: assess ballast and roof protection
A ballasted system can be considered where the roof and project design permit it. Avoiding penetrations does not remove the need for structural review. The building must support the array and ballast, including local contact pressures. The designer also needs to assess uplift, sliding and the influence of roof edge and corner zones. There is no universal ballast quantity that can be copied safely between roofs.
Record the roof membrane, insulation build-up, drainage routes and parapet geometry. Confirm compatible protection pads, setbacks, access paths and any restrictions from the roof warranty provider. Tilt and row spacing affect shading, wind exposure and the usable layout. Request a project-specific ballast schedule and clearly identify whether ballast blocks, pads and handling are included in the supplied package. Keep outlets accessible for inspection and cleaning.
Coordinate rails and module clamps
Rail section, support spacing and splice position affect structural behavior. A rail profile cannot be selected from nominal size alone. Ask for the system drawing and the permissible spans for the project loads. Where thermal movement requires a gap or an interrupted rail run, document that detail in the installation package.
Module clamps must match frame height, rail slot geometry and the module manufacturer’s approved clamping zones. Check tightening torque, bolt engagement and corrosion compatibility. If bonding pins or clips are included, verify the complete earthing design rather than assuming every metal connection provides an approved electrical path.
Protect the roof throughout installation
Plan walking routes, lifting arrangements and temporary material storage. Concentrated pallet loads can exceed the roof capacity even when the distributed array weight is acceptable. Keep drainage paths clear and avoid installation details that trap debris or prevent future inspection of roof fixings.
Before procurement, agree who owns roof repairs, waterproofing details and structural approval. Request a bill of materials tied to the final layout, including spares, fasteners and protective pads. SolarNova’s tile and metal roof products are illustrative starting points: share roof drawings and site conditions to request a coordinated proposal, then verify the final design before construction.
Contact SolarNova with roof photographs, structural details and a module layout to request a coordinated tile, metal or flat-roof mounting quotation.